Table of Contents
Introduction To Finger Wave Ponytail
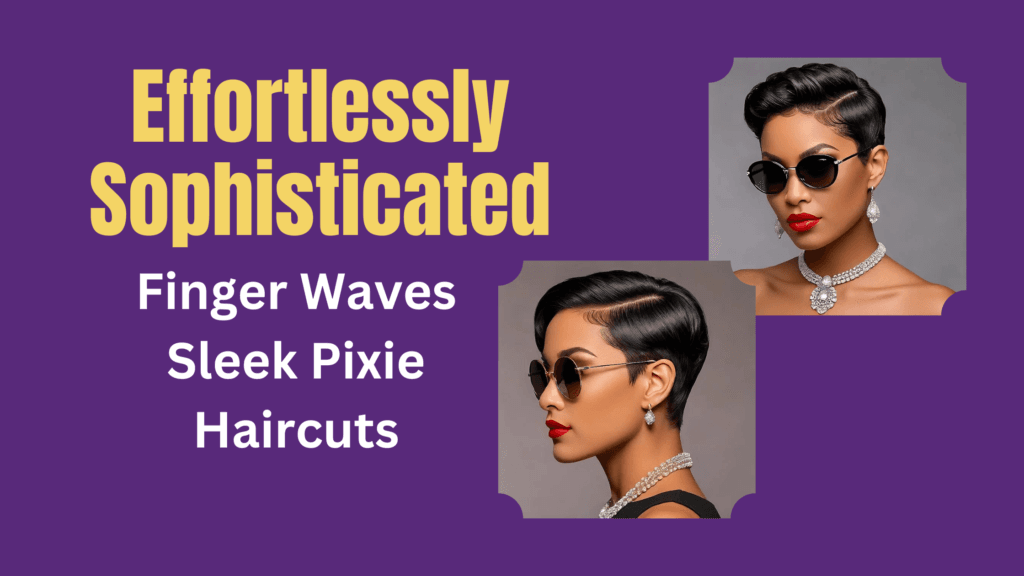
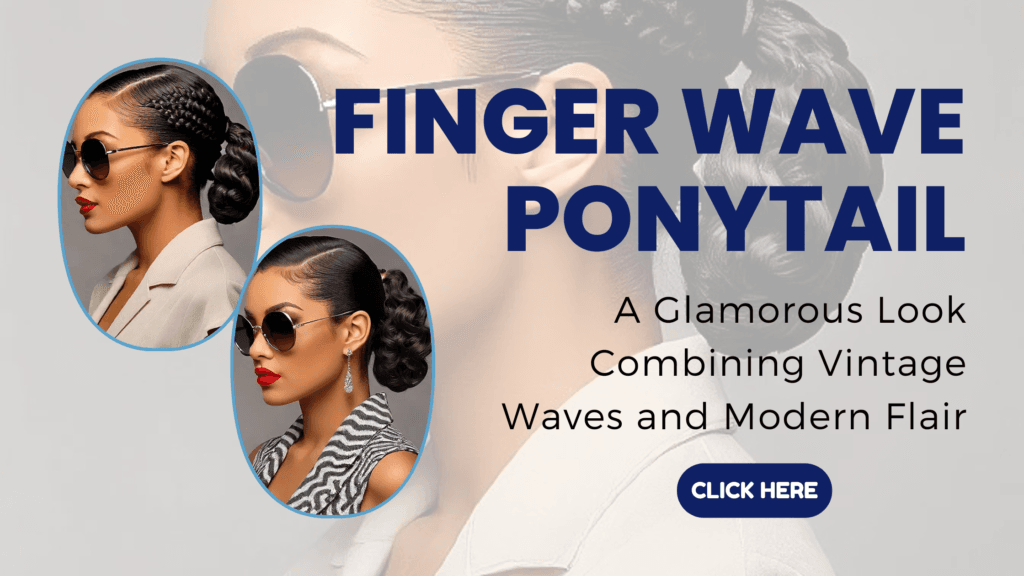
The finger wave ponytail is a stunning style that dates back to the 1920s creating awesome cresting waves in a mouthwatering, high ponytail berth. This attractive style can be worn to formal and casual related events. You will find more details on how to execute stunning finger wave ponytails on this page.
What is a Finger Wave Ponytail?
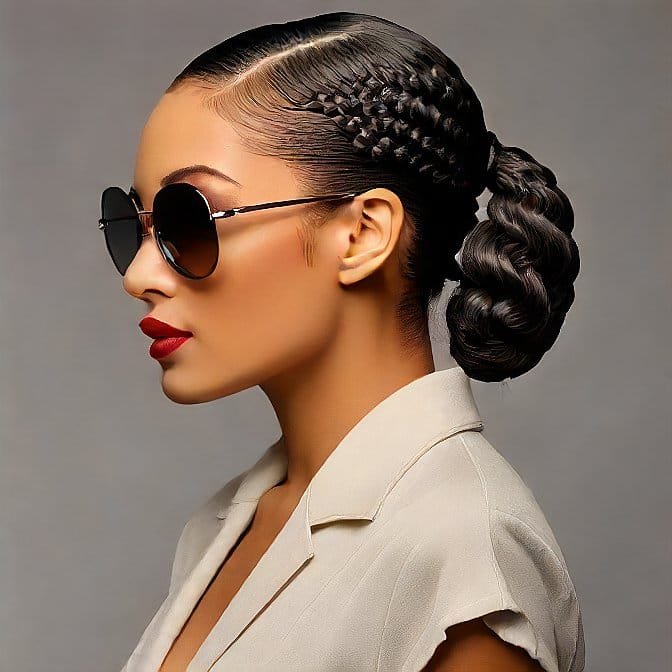
The finger wave ponytail style is a combination of finger wave au natural look from 1920/30 with neat high ponytail hair. Finger waves are deep, waving S, patterns resembling waves moving across the head. If done like a ponytail not all over the head the waves bring in a wonderful style, structured feel, and retro pin-up look.
The final outcome is a kind of ponytail that not only has the feel of softly waved hair but also looks as though it has been crimped in an impeccable manner, always leaving it a little messy but not strained at all in the process. The combination of long ponytails and finger waves gives a signal of old-styled Hollywood actresses and glitzy retro fashion.
Advantages of a Finger Wave Ponytail
There are many reasons to love this hairstyle:
- It is virtually hole-in-the-wall but is a significant fashion statement nonetheless.
- Finger waves provide a lot of volume and volume density.
- The undulatory patterns are opposed to the smooth and glossy look of the ponytail.
- It is suitable for all hair types and hair length.
- Well, it is much less of a commitment than the all-over finger waves, for instance.
- If you have very long hair it gives the impression of shorter hair which may be what some people want.
- It prohibits hair from falling on the face in a rather classy manner.
In short, the finger wave ponytail helps you meet the glamorous, retro look of finger waves without the need to set your entire head!
How To Finger Wave Ponytail?
Pulling an excellent wave for your ponytail is easy as everything depends on the technique used in making it. Follow these step-by-step instructions:
Section off your hair
Begin with washing hair well, making the hair stretch, and gathering them at the top of the head, forming a really high ponytail. Anchor it loosely to the current time by merely using an elastic band.
Then divide your ponytail hair into equal sections in a horizontal manner right from the root part down to the tips in as far as 1-2 inches. Section off each division of hair neatly by using duckbill clips.
Apply setting product
Squeeze setting lotion or styling mousse into your palms and spread only as much as the size of a dime on each section of hair. This will aid in developing sustainable waves that stay around and persist for long. With the help of the brush apply the product starting from the roots up to the ends.
Some good setting products for finger waves include:
- It still setting lotion is a product of Design Essentials.
- Lottabody Setting Lotion
- Ouai Wave Spray
- Kenra Setting Spray 25
- AG Recoil Curl Activating Spray
To achieve the maximum hold possible, go with a setting lotion. If you need even softer, touchable-feeling mousse and salt spray types, go for them.
Create finger waves
Working on one section at a time, use the pins-and-fingers technique to sculpt deep S-shaped waves:
- This step has been described as taking a wave formation (“S”) and pinning it flat against the head to set.
- Make a wave shape on the next portion of hair and position it beside the first wave to form a wave like a side-by-side pin.
- Keep making the waves down the length of hair while ensuring they slightly overlap as you make them.
Swing in both directions, for types of waves and amplitude. Upon finishing drawing the designs, allow the batter to cool and then set for another 510 minutes.
How to make finger waves on the ponytail hair
- Pro tip: Make deeper bends in the hair as you wave it with the help of the knuckles of your index and middle fingers.
Curl ponytail ends
Once waves are set, loosen up the coils at the end section of the ponytail, to create curls using a curling iron. Both tight curls or soft waves perfectly meet the requirements and will look gorgeous, if put on the head.
Spritz curls lightly with hairspray to keep the style in place and leave hair silky.
Finish styling
Withdraw the sectioning clips slowly. Then take a boar bristle brush and just sweep hair to make sure waves are in the right place and to eliminate any tangles from cutting.
Finally running a soft bristle brush through the ponytail to have a smooth finish. Fasten it tightly at the base with your elastic band. If required, you could add height with the help of backcombing at the crown area only though.
If your band is visible, apply a small piece of hair around it to make the band blend with your hair. Or, just wear a decorative hair tie, servant, or headband. Choose a whole style with a flexible hold hairspray.
And that’s it! You have a show-stopper finger wave ponytail set to turn heads.
Variations Of Finger Wave Ponytail

One of the main benefits, which cannot be denied in the process of finger waving, is that it is very liberal as a technique. Play around with these style variations:
Low Ponytail
If you want to make a lower ponytail more casual but still with a touch of retro, then you should try finger-waving it. Great for active days!
Half-up style
Were only the waves in the upper part pulled back into a half updo. Lower layers should therefore remain smooth and loose.
Deep side part
Swing waves as far as possible to one side with a side central parting at the point where the hair growth is slow. Team them up with victory rolls or pin curls in the front for a classic resemblance of the fifties.
Looser waves
However, in order to achieve a softer texture, the waves should be open and when loose, should look like they are in the form of the letter S without being as compressed as tight S-bends. It looks quite nice with straight-across bangs.
Edge control
- Blow wave baby hairs on the hairline and then apply edge control gel to make a contrast. Product it up!
- Isn’t it great to note that there are so many ways you can incorporate your version of the retro ponytail?
Check Out: The Golden Wave: The Way to Beautiful Finger Wave Hairstyles.
Tips for Perfect Waves
Cleans lines and edge finger waves still require a little finesse, in my experience. Use these pro tips for salon-worthy results:
- Coded work preserves control for the large sections of this research when worked in small sections.
- Employ a tail comb to set waves in motion.
- Let the waxed area have quite a while to cool and set and the waves form Ideally.
- Use a can of sticky hair spray followed by mice to add height to the root area through backcombing.
- Bury the head in talc powder to which some teaspoons of water are added in between takes to reset waves.
- Soften the wild effect of flyaways by using gel or finishing serum.
- Secure in waves with multiple layers of hairspray.
Do not get easily annoyed as you are developing on how to properly execute certain moves. With praise, your waves will get better each time!
How to Make Waves Last
With the correct products and after treatment, your beautiful glam finger wave ponytail will last for days not hours.
- It is also important not to brush or untangle hair until it is completely dry or, if washed, until the waves are cool.
- It can be worn in satin rollers when sleeping or any other protective hairstyle.
- Battles that require curl activator spray should have their waves refreshed as necessary.
- As I go to bed add a few more pin curls around the hairline.
- Put your hair in a loose bun or plait for the best waves at night.
- Avert hairstyles that tend to absorb moisture such as tight ponytails.
Choose good styling products meant for holding waves and curls. If you appropriately style and manage your hairdo, you can be able to put it on for 3-4 days or even more in case of retro ponytailed finger waves!
Conclusion
And for those who love the vintage style, a finger wave ponytail is worth giving a tryout. This elegant, glamor girl haircut is one of the most striking, and with a vintage Hollywood feel to it.
As you can now see, the simple shaping of loose S-shaped waves into a ponytail can indeed be done at home. Wash the hair section neatly, perform the work in small wavy strands, let cool and refuse to set – and proudly present a new timeless hairstyle!
For a different look or specific occasion, try to play with heights, parts, or even amounts of waves to your hair. By having the proper style techniques and products, make sophisticated finger-waved texture to last days of getting attention.
Farewell to the plain Jane ponytails, and welcome back the glamor of the past in finger-waved ponytails.
For More Info: Click Here.
FAQs
Can you wear a finger wave ponytail if your hair is short?
Not at all! Finger wave ponytails are suitable for all hair lengths; they include short hair, medium hair, and long hair. If you have very long hair, gather more volume on the top, so all the attention will be paid to the sculpted curls, not long hair ends.
Which is better for the hair: mousse or setting lotion?
Setting lotions gives out exceptional control and support to get the defined looks in waves. Hair mousse gives good touch ability while coming off as it has a softer feel on hair. For most of the durable waves, it is required to section hair and use a setting lotion then after sculpting, use mousse for soft waves.
Volume at the crown: How do I?
Tease the hair at the crown before pulling it into your ponytail. You can also backcomb the ponytail itself, especially if there are stringy ends, that require texturizing and some form of control. Only the roots should be sprayed with a texturizing spray at least once so that they can stand up with it. Extension stacks a glorious vintage look or a sort of chubby look that looks lovely when piled up in the sleek waves.