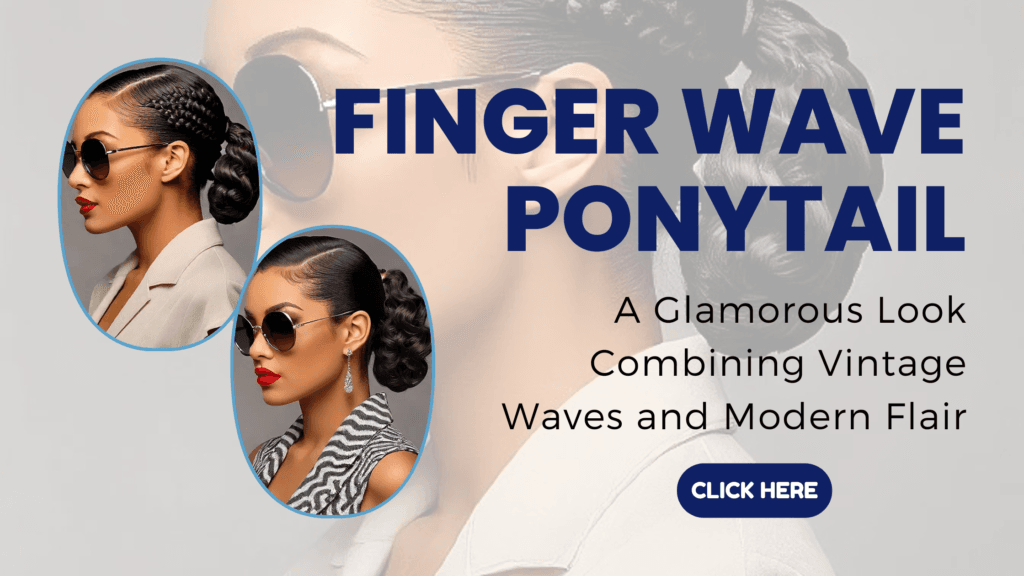
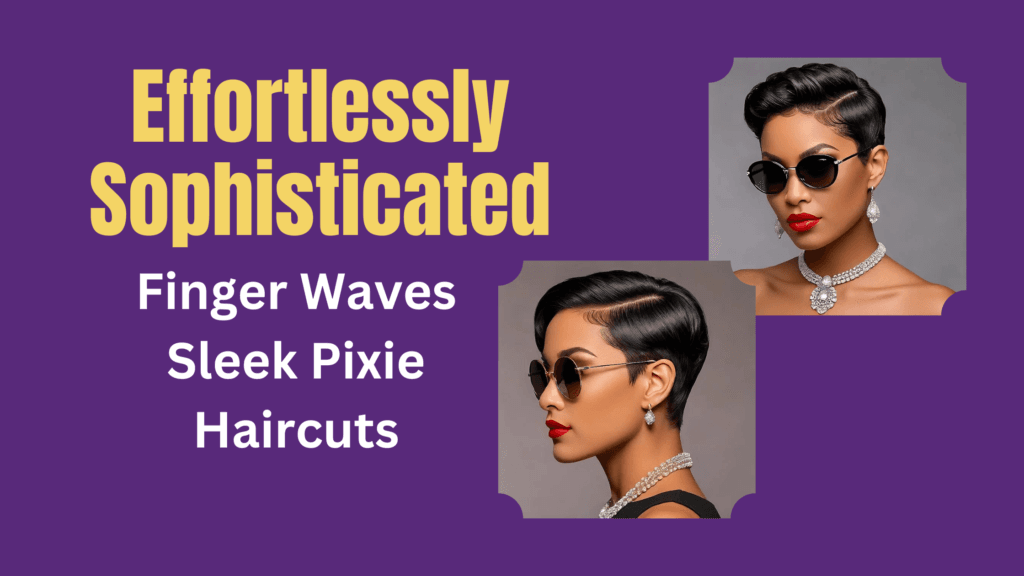
Golden Wave: Transform Your Look with Stunning, Radiant Style
Introduction
The Golden Wave hairstyle is an item of fashion that everyone wants to include in their appearance in order to give it additional radiance, glamour, and sophistication. This shape consists of a very bright finish and an all too easy style, which is glamorous and simultaneously is good enough to suit all kinds of faces and hair. Its waves are very classic and a very cool mix of many elements that are so good to wear. The Golden Wave is the clothing that makes you shine, whether you are stepping onto the red carpet, attending a wedding party, or just feel like dressing up and being seen with a new and better face. One can use it during the workplace and other informal roles, and that makes it a favorite among women who still want to be sophisticated without sacrificing comfort.
What Is the Golden Wave Hairstyle?
The Golden Wave Hairstyle is a shining, flowing look with soft, sculpture waves that glisten with depth and movement. The Golden Wave will provide a smooth and shiny surface with balanced curves, and is the most effective way to have perfect curls or waves against the traditional ones. It combines the most appropriate mixture of elegance and modern fashion, which makes it one of the most versatile and upscale hairstyles at present. What makes it different is that it brings the most optimal balance of form and movement: it is not hard, but neither overly soft, thus appearing polished and easy to chic.
Why Choose a Golden Wave for Your Next Look?
Golden Wave Hairstyle is not just another trend, but a lifetime choice that will be both classy and youthful. The bright finish fits all the faces and skin colors, and the aim is to make people look more natural. The Golden Wave is as easy coming in a brunch as it is on the red carpet or romantic evening. It is the high-impact, low-effort kind that gives the luxurious put-together feel without having to work on it all day long. The Golden Wave may be a safe choice in case you need a hairstyle that will help you feel more confident and present yourself better.
Golden Wave Hairstyles You’ll Love
Classic Golden Wave transports the retro style of non-aging classic beauty; its balanced and smooth waves are suitable for the workplace and business, and can be accompanied by the dress.
The volume and depth that the tossed layers add to it make Textured Golden Wave a perfect addition because it has a perfect, fresh, and trendy touch.
Loose Golden Wave feels relaxed and casual, easy-going, and is stylish and easy to wear on a day of rest or a casual occasion.
Hollywood Golden Wave is a red-carpet, drama, structured, and glossy finish that has an old-style glamour.
Golden Wave with Highlights or Balayage helps uplift the look, giving a look of volume, brightness, and a sun-kissed touch to each wave.
Golden Wave for Different Occasions
The most appealing fact about the Golden Wave Hairstyle is that it is versatile- it can blend easily with any occasion. A less contemporary, sleek shape of Golden Waves is a bit older and more elegant, and enhances the beauty of weddings and formal parties that can be easily photographed and fit the luxurious dresses that people wear. The Golden Wave adds the right level of sophistication and style in the business world to create a smooth and friendly look. In order to go on informative activities, we can wear the Golden Wave in a casual and more careless way, with a nonchalant cool touch of adding prestige to even the simplest of dresses. The best option, whether it is a fancy evening or a casual coffee swing, is the Golden Wave.
How to Style and Maintain a Golden Wave
The right way will ensure that the process of making perfect Golden Waves at home is easier than you think it will be. Start with a heat protectant and smoothing serum to make your hair soft, therefore, shiny, and unbreakable. Curl the hair with a curling iron, a flat iron, or a wave wand and form soft, even loops of hair that run without snarls. When you have played with them, after you style them, by running your fingers or a wide-tooth comb through them, to set them to a natural finish.
To apply: To guarantee the best application, spray lightweight hairspray and a shine spray to add gloss. In order to retain your Golden Waves, keep remembering not to brush very regularly, but use fingers at the same time to hold onto hair. Anti-frizz gel and sleeping on a silk pillowcase will extend the appearance, enabling the waves to remain smooth, defined, and glamorous throughout the day.
Celebrity-Inspired Golden Wave Looks
The Golden Wave Hairstyle is a favored style among the stars, which is spotted on the red carpet and on the page after pages of fashion magazines. The reason stars use the style is due to its combination of old Hollywood glamour and modern style. This means that, though it was first introduced as smooth, shiny Golden Waves in the film premiere, to the more natural ones in everyday street style, this type of hair continues to spur beauty signals all over the world.
The Golden Waves are waves inspired by celebrities that can be made in the home with proper emphasis on accuracy and completion. Use one with a curling or wave wand to prevent variation, then use a smoothing cream to appear shiny, and part the hair in a way that fits your face shape. These simple tricks can make it possible to have a Golden Wave Hairstyle of a star without the assistance of a professional hairdresser.
Why the Golden Wave Works for Every Hair Type
One of the most remarkable facts about the Golden Wave hairstyle is its universal adaptability. It falls straight, or in waves, or is naturally curly; this is the appearance that can be readjusted to you. On straight hair, gold waves bend it curvy and provide a shape and drama to an otherwise flat appearance, making it shine and come alive. The wave ladies will be able to enhance their natural hair texture,t hat makes its golden hues reflect the light well with every twist. Curly-haired individuals are able to take on more organised yet flowing curves and create a marvellous harmony between structure and softness.
There is also the Golden Wave, which is compatible in length. It gives bold and modernistic, and stylish elegance to short hair. Themedium-length hair is simple and highly adaptable, and the long hair gives the golden waves a complete cascading splendor. Besides being an incredibly pretty hairstyle, it also provides the hair with additional motion, volume, light glow around the face, and it also makes it a very flattering option in case an individual needs to look like a shining, sexy-looking person in a flash.
Conclusion
The Golden Wave Hairstyle is not only a fashion but a classic statement of refinement, opulence, and an updated head of hair. The radiant stream of this style and its versatility can merely be modified to the event, be it a glamorous red carpet or casual wear. It is one of the most interesting hairstyles to date since it will fit any face shape, highlighting the features, and boosting confidence.
When you want something that would instantly uplift your look without being too flashy, yet something that would be timeless and current simultaneously, then the Golden Wave is where to take a look. Not only will this stylish haircut make you change your image, but it will also make you full of confidence and sophistication, whichever place you go.
FAQs About the Golden Wave
1. Does the Golden Wave fit any hair?
Yes, the Golden Wave hairstyle is completely versatile and may be adapted to all types of hair-straight, wavy, and curly hair. With naturally straight hair, the stylists usually use curling irons or the wave wands to give the hair a little bit of defined curvy waves. The style may be polished and smoothed in a more polished golden finish in wavy or curly types, and yet it can highlight natural volume. It is this that makes the look universally flattering because it can be customized to suit in length, texture, and depth of the waves to ensure that it gives you that flawless look.
2. How do I maintain a hairstyle of a Golden Wave and make it shiny and glowing?
To keep your Golden Waves sleek and shiny, you must learn the correct products and the techniques of care. It is best to add on the waves with a light shine serum or hair oil, which nourishes but does not add weight to the hair. Regular cuts will not enable the split ends and make the waves fresh and bouncy. With highlights, balayage, or a blonde and your Golden Wave, be sure to use sulfate-free color-safe shampoos and conditioners to maintain the color and health of the hair. A weekly hydration mask will help keep hair soft and manageable as well.
3. Could you do the Golden Wave effect at home?
Absolutely! With the right tools and a practice that you have, you too can create the Golden Wave hairstyle. Start with heat-insulated hair, use a curling wand, flat iron, or wave iron, and create soft, flowing waves. Apply an alternate direction in curling parts to give a more natural, voluminous effect. Lastly, use an aerosol hairspray or shine spray to make the look fix without becoming hard. Whereas at-home styling is fantastic for a daily practice, being styled by a professional designer can give a more red-carpet-worthy, more pulled-together variation of the Golden Wave.