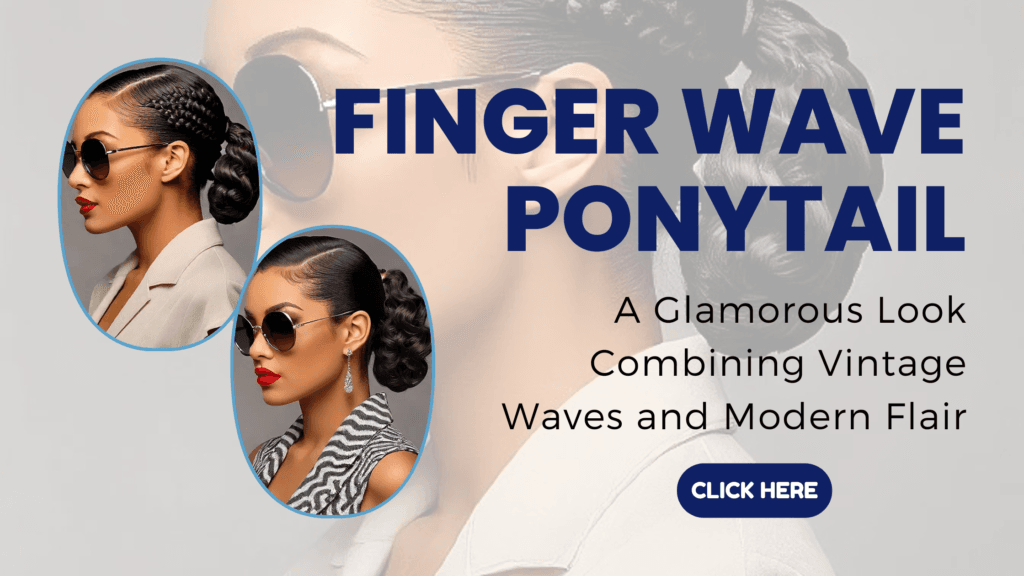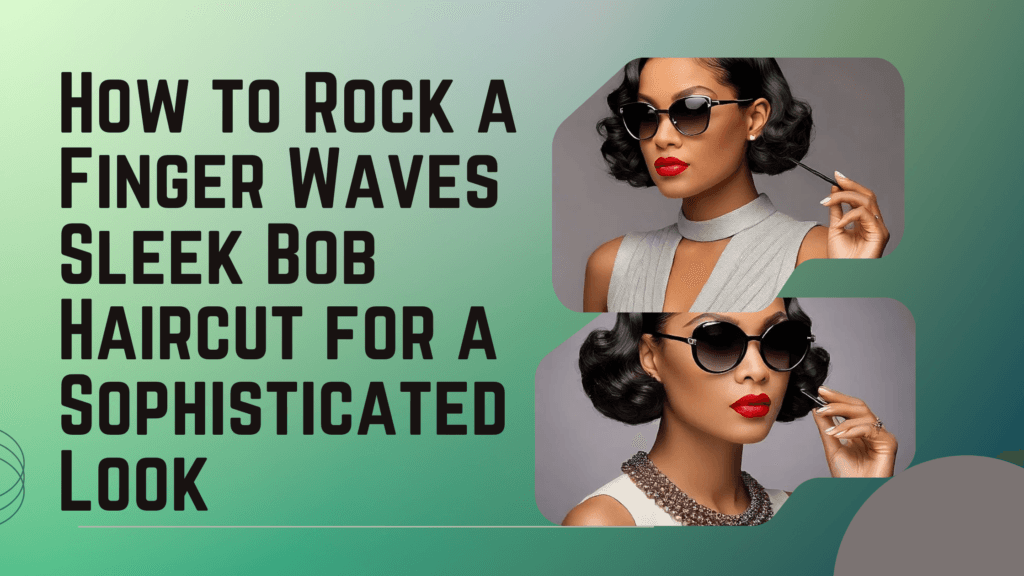
Sleek Bob Haircut: Transform Your Look with This Stunning Style
Introduction
Bob haircut is more than just a haircut; it is an icon of sophistication, self-esteem, and trendiness. It is also reported to possess smooth and polished sides and is one of the most popular hairstyles among fashion icons, celebrities, and other ordinary women who cannot afford to take their time to brush their hair and appear smooth and elegant at the same time.
Its basic and smooth bob is very versatile, a nd that is what makes it look so good. This haircut is flexible enough to suit any event, regardless of the reason why you are going out or attending a business meeting, a tacky brunch, or a fancy night out. It fits your face very well, accentuates the best parts, and is compatible with most shapes of faces and hair textures.
In this blog, you will learn all you need about the sleek bob haircut: its definition and advantages, trending styles, icons, and hacks on how to style and look after it. In case you are willing to change your appearance in a flash, then the smooth bob could be the ideal hairstyle.
What Is a Sleek Bob Haircut?
A smooth bob haircut is a sophisticated haircut that is characterized by its straight cut-off and even lines. It is different from other types of bob due to its simple attraction. On the one hand, a layered bob is all volume and motion, a nd on the other end, a textured bob makes the look look dishevelled and somewhat disarming; the sleek bob keeps it tidy, minimal, and sparkling. The sleek bob is less coarse but equally strong in its elegance as compared to a blunt bob, which is loud and sharp.
The universal appeal is what makes this style so popular. It is a good fit on all faces, is seen to bring out the cheekbones and jawline, and goes well with varying hair types and face shapes. Its smooth, straight texture exudes certainty, and it is a classic that anyone would love to go with; it looks sophisticated and at the same time not out of date.
Benefits of a Sleek Bob Haircut
There are several benefits that come along with the decision of having a sleek bob haircut. It is not high-maintenance but still gives a clean look, something that suits individuals with hectic schedules and who require appearing put together without trying. The manner in which the sleek bob cuts the face further adds natural elements such as the eyes, jawline, and cheekbones to your look to instantly boost your appearance.
Such a hairstyle is also versatile. It alternates between work and non-work life without any trouble and can be displayed on any occasion, provided it is appropriate. Even though it is typically worn contact-less, it can be a little wavy or curly with the help of relevant styling products and tools, so it can be even more flexible.
Trending Sleek Bob Haircut Styles You’ll Love
The smooth bob comes in several beautiful colors that allow you to make the style personal. The traditional sleek bob is smooth and crisp and will never fade away. In order to keep up, the smooth asymmetrical bob is long at the front and short at the back, creating a bold and highly stylish figure. When you want something that sends a thunderous effect, the blunt, sleek bob will be a statement that is strong and stylish due to being straight across cut.
The second trendy option is the smooth bob that falls to the chin, which is a graceful manner of framing your face making highlighting your natural bone structure. To the people who like the length a bit longer, the long smooth bob or the lob is also versatile in styling and gives the style a smooth and elegant finish that characterizes this hairstyle. All these variations enable you to show off your personality, and you are also provided with sleek and polished looks.
Sleek Bob Haircuts for Different Face Shapes
The fact that it fits nearly any face shape with the right cut is one of the largest factors that contribute to the popularity of the sleek bob haircut. To people whose faces are oval, the smooth bob is so versatile and can be worn at chin level, jawline, or even bumping against the shoulders to accentuate natural symmetry. With a round face, an angled or asymmetrical sleek bob may lengthen your face and make it more sculpted, particularly when the front parts are left a little longer. Squares have the advantage of having a smooth bob with rounded edges or side sections, which tenderly cushion and smooth harsh jawlines without losing the sleekness of the modern edge. In the case of heart-shaped faces, a chin-length smooth bob should be used to counterbalance a broad forehead and narrow chin, making the face look flattering and feminine.
Celebrity-Inspired Sleek Bob Haircut Looks
Slick bob hairstyle has gained notoriety with the celebrities, and it is already being ranked among the most well-known hairstyles in the world of fashion and entertainment. Celebrity icons such as Kim Kardashian, Lucy Hale, and Dua Lipa have adopted the slick bob in their various forms and can easily wear it during the day and then change to the red carpet in the evening. To seek depth and drama, Hollywood stylists also love to play around with deep side cuts or blunt cuts, or a very glossy finish. The best thing about them is that such celebrity-based appearances can be readily reproduced at home with the assistance of the right tools and ingredients. A small serum of shine and a flat iron can turn your bob into a giant star and put it on at any party to bring out straight, shiny, glossy hair.
How to Style and Maintain a Sleek Bob Haircut
The whole thing is about accuracy and attention to arrange, as well as to care for a smooth bob hairstyle. You may start by washing and then blow-drying your hair with a round brush, a nd when you are drying it with the use of the blow-dryer, you can use the brush to flatten all your hair. A flat iron will be used to achieve that smooth, shiny finish when it is dry. In order to give the hair an extra shine and/or get the frizz under control, a light type of serum or spray must be applied in order to fix the hair to be smooth. They also need other products like a quality flat iron, blow dryer, and round brush, and in order to prevent any harm, they must always use heat protectants. To keep your sleek bob in line, trim it after every four to six weeks and follow a hair care routine of moisturising conditioners and shampoos that will give smoothness and shine. Your smooth bob will be clean and trendy, and of course, cool when it is trimmed.
Why a Sleek Bob Haircut Works for Every Occasion
The best part of a sleek bob haircut is that it is extremely versatile and, therefore, the best haircut to wear during any given event. The sleek bob is smooth and elegant, which transmits confidence and class in the workplace, and, without hours of styling, you will emerge glowing in the workplace. To look glamorous or to present such a hairstyle to a special occasion, it can be put to the sky high with a slick shine, some flashy accessories, or even a dramatic side part, and it can easily make one look like a red carpet hairstyle. Meanwhile, this haircut is simple to make it casual and everyday. You want easy, pushed behind the ear, you want it messy and smooth, you want a quick blow-dry finish, the sleek bob will give you unlimited options that will have you looking good with minimal effort.
Conclusion
Sleek bob is one of the most traditional and trendy haircuts that has assimilated the retro-fashion with an element of modernity. The smooth lines, smooth finish, and bending ability of it have made it a favorite among generations and thus and thus it has proved that this haircut will never be out of fashion. No one will be disappointed with the sleek bob, whether you want a professional appearance that you can be proud of, a glamorous look on a special event, or a cool and comfortable appearance throughout the day.
The optimal thing about this haircut is that it is a trade-off in the sense of both beauty and practicality. It is simple to keep, unlike most of the longer hairstyles, and can be modified to the shape of an individual’s face, hair texture, and individual preferences. It has a sleek bob version to fit everybody, be it an angled bob which is scaled down, lengthening the face, or natural features brought out by chinchin-lengthh cut.
The sleek bob haircut is your answer to that when you have been considering that haircut that can change your life instantly, and at the same time easy to maintain. It is a style that makes you feel confident and advanced in any place you go, with its changing capability, classic look, and fashionability. High time to be daring and simply see how effortless it is to get slippy and fashionable despite the sleek bob.
FAQs
Q1: Does a slick bob haircut suit all hair types?
Yeah, a smooth bob hairstyle suits well with a large variety of hair types, including straight, slightly wavy, and fine hair. Keeping it is easy for people who already have straight hair due to their natural hair, since it easily attains a smooth finish. The cut will be gorgeous even with wavy or curly hair; however, you may need smoothing aids, a blow-dryer, or an occasional flat iron so that you can get the sleek, shiny look. It is possible to make any person capable of wearing a slick bob using the right products and the right techniques of doing it, regardless of the texture.
Q2: How often do I trim my smooth bob to keep it trim?
To keep the sleek bob in a clean and neat shape, it is worthwhile to trim it every 4-6 weeks. Due to the fact that the style is anchored on flawless lines and a straight length, frequent trimming will ensure that the end of it remains torn and the style will carry its perfect, polished appearance. Lacking trims may result in the sleek effect losing its contours; hence, by being consistent with your visits to the salon, the bob will always frame your face in the best manner.
Q3: That is to say that I can be in a position to do a sleek bob haircut with no heat tools daily?
Absolutely! Even though heat tools like a flat iron may be helpful in achieving that very smooth finish, you do not require using them on a daily basis. To make natural hair smooth, it is possible to invest in a good smoothing serum, anti-frizzing spray, or leave-in conditioner. You may also wrap your hair before going to bed, use a silk pillow case, or even perform overnight styling tricks so that you can leave it smooth without it being ruined by heat. Changing your no-heat to heat work will ensure that your bob is healthy, shiny, and easily chic.